Cursive went out of fashion for a while, and now it’s quietly back in a lot of classrooms — and in a growing number of state standards. If you’re teaching it for the first time, or teaching it to a child who already finds handwriting hard, the order you teach the letters in matters more than almost anything else.
1. Start when printing is comfortable, not before
Most children are ready somewhere in second or third grade, but the calendar matters less than the hand. If a child is still fighting to form printed letters, adding a second system will frustrate everyone. Wait until printing is reasonably automatic, then cursive becomes a new skill rather than a second battle.
2. Don’t teach it in alphabetical order
This is the single biggest change you can make. A, B, C, D are four completely different strokes, so alphabetical order asks a child to learn four unrelated movements in a row. Group the letters by the stroke they share instead, and each new letter reinforces the last:
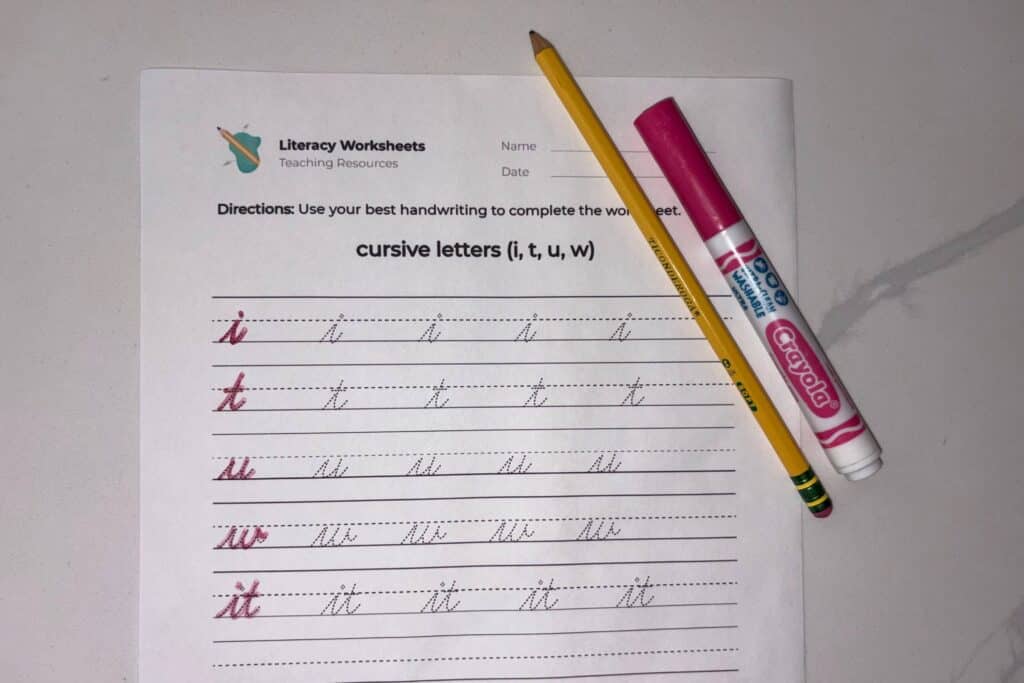
- Undercurve letters — i, t, u, w, e, l, b, h, f, k. They all begin with the same upward swing, so once a child can write i, most of this group follows.
- Downcurve letters — a, c, d, g, o, q. All start with the same round motion, the one many programs call the “magic c.”
- Overcurve letters — n, m, x, y, z, v. All begin with a hump over the top.
Teach one family until it’s comfortable before starting the next. Children who learn this way stop treating each letter as a separate thing to memorize.
3. Lowercase before uppercase
Lowercase letters are what writing is actually made of — a page of text is maybe two percent capitals. Cursive capitals are also the hardest and least consistent shapes in the system, and several of them (Q, Z, F) look nothing like their printed versions. Get lowercase solid first, and capitals will feel like a short final unit instead of a wall.
4. Teach the connections, not just the letters
Cursive isn’t printed letters with tails. The join is the skill, and a child who can write every letter alone may still stall the moment they have to link two. As soon as a family of letters is comfortable, practice joining them into real syllables and words — it, till, well, little. Writing a word is the point; writing a letter is just the setup.
5. Watch the four letters that connect differently
Most lowercase letters end at the baseline, so the next letter starts from the bottom. But b, o, v, and w end at the top, which means the following letter connects from up there instead. Nearly every child hits a wall on words like brown or over without understanding why. Name it explicitly and practice those four on purpose, and a whole category of frustration disappears.
6. Trace, then copy, then write from memory
Those are three different skills, and skipping straight to the third is where cursive practice usually falls apart. Start with dotted or outlined letters to trace, so the hand learns the path. Then copy the same letters from a model on the same page. Only then ask for the letter with nothing to look at. Move through the stages per letter family, not per week.
7. Keep it short
Ten minutes a day beats an hour on Friday. Cursive is a motor skill, and motor skills are built by frequent short repetition, not by endurance. A page of the same letter is also less useful than a few lines of several letters that share a stroke — the variety is what builds the pattern.
8. Let them actually use it
The fastest way to make cursive stick is to give it a job. Have them write a spelling list in cursive, sign a card to a grandparent, label a drawing, or write the date at the top of their morning work. Practice pages build the letters; real writing is what makes a child fluent, and it’s also what makes cursive feel worth learning.
9. Practice with worksheets built for where they are
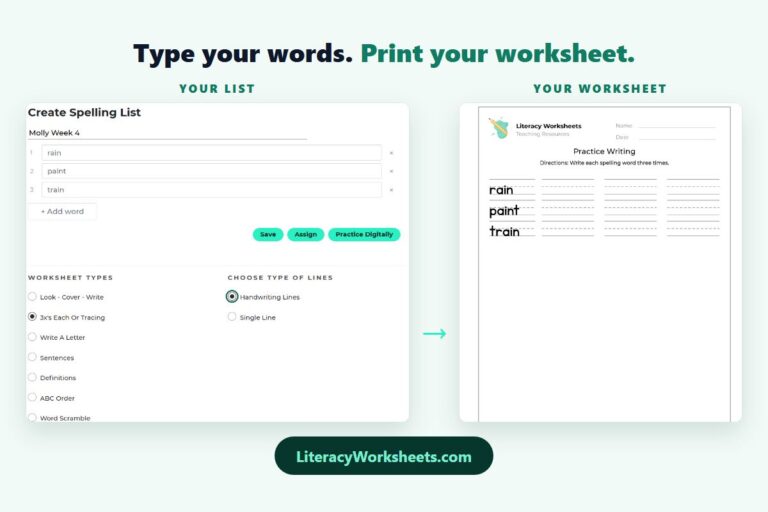
You can generate free cursive handwriting worksheets with exactly the letters, words, or sentences your child is working on — choose cursive, pick dotted letters for tracing or outlined letters for a lighter prompt, set the letter size, and use handwriting lines or single lines depending on the age. That means you can build a page of just the undercurve family this week, and just the tricky b-o-v-w connections next week, instead of hunting for a worksheet that happens to match.
Cursive has a reputation for being hard, and taught alphabetically it is. Taught in stroke families, lowercase first, with the connections practiced on purpose, most children pick it up faster than they picked up printing — and a fair number of children who struggled with printing find they prefer it. If handwriting is a sticking point generally, our post on improving your child’s handwriting covers grip, posture, and the habits underneath both systems.